
It's only a 6x6 wood frame [which is good - because it's just the right amount of "cheesiness" for our home]. The quote is from a small exert of our wedding ceremony where we planted a tree [which is now out front of our house]. We love it.
 |
| photo by the wonderful heather brincko |
 |
| Our Service Berry tree |
Anyway, back to the picture.
_________________________________________________________
Here is what you'll need to make your own:
any size wood board (mine was 6x6 from Walmart)
letter stickers (sized to fit on your board)
ruler & pencil
foam brush
craft paint
_________________________________________________________
[1] Size up your quote
I wrote my quote down on a piece of paper and figured out how to break down the words per line, etc. It took me a few times to get it right but this is an important step. Also, during this step figure out how many of each letter you'll need and make sure you have enough.


[2] Set up your board
I figured that I would need 8 lines for my quote to fit on the board. Using a ruler and small plastic t-square, I drew light guide lines across my board (to help keep my letters straight). Remember to draw them lightly so your paint will cover them when you're finished.

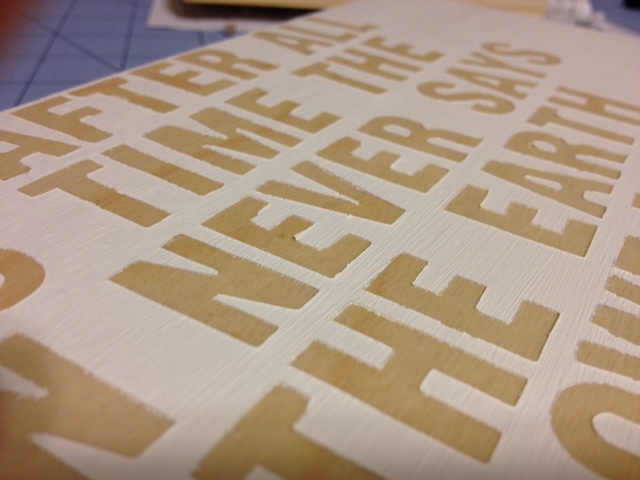
[3] Apply your letters
Using your guide lines, carefully line up your letters on your board.
Make sure you press them firmly to your board so no paint seeps under them.

[4] Apply paint
Using a foam brush, apply a few thin coats of paint.
I ended up doing 2 coats - but this is up to you and how you want your final product to look.
 |
| first coat |
 |
| second coat |
[5] Peel away!
Once it's all dry, carefully peel off your stickers.
Now you have a one of a kind piece of art.

Note: if your paint is a little rough when you peel off your stickers, lightly sand your board with fine grit sand paper. Some of the other boards I made were rough so I tried this out and it worked out nicely.
 |
| pre-sanding |
 |
| post-sanding |
Here are the final products!


Now I have to figure out where to hang them...
I love that you planted a tree as part of your wedding ceremony. I can't wait to see what you do next. Now following via Google Friend Connect
ReplyDeleteThank you! :) Have a great weekend.
Delete